
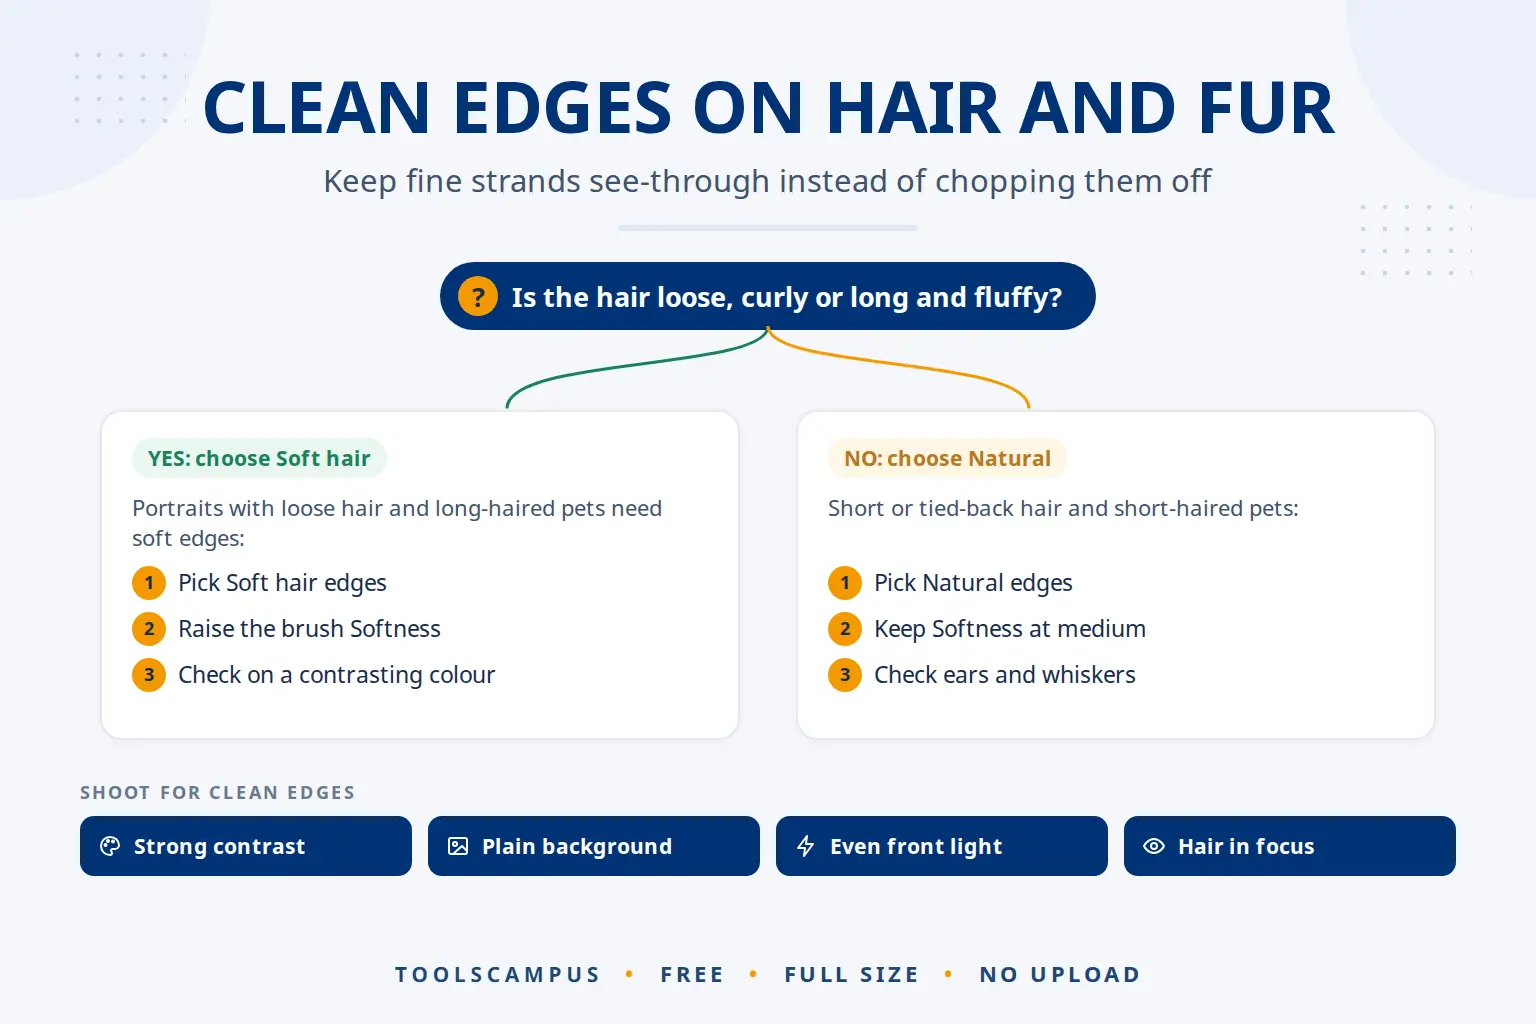
To remove the background around hair or fur cleanly, use an AI background remover with a soft edge setting, so fine strands stay partly see-through instead of being chopped off. Then check the outline against a contrasting colour and fix any halo with a soft brush.
This guide explains why hair and fur are the hardest part of any cut-out, which settings to use, how to get rid of halos and fringes, and how to shoot photos that cut out well.
Remove the background from your portrait or pet photo: free, no sign-up, and your photos stay on your device.
Why hair and fur are so hard to cut out
A box or a bottle has a clear outline: each pixel is either product or background. Hair doesn’t. At the edge of a head, a single pixel can contain a bit of a strand and a bit of the wall behind it. If the cut-out treats that pixel as fully kept, you get a fringe of old background. If it treats it as fully removed, the hair looks like a helmet.
The answer is partial transparency: edge pixels that are, say, half see-through, so the new background shows through between the strands. That is why a hair cut-out must be saved as PNG or WebP, not JPG, if you want to place it on another background later. Our guide on making a background transparent explains the formats.
How to remove the background from hair and fur (step by step)
- Open Remove background and add your photo. JPG, PNG, WebP and iPhone HEIC work.
- Under edges, choose Soft hair. It is made for people and pets and keeps fine strands.
- Switch to the Compare view and drag the slider across the hairline to see what was kept and what was removed.
- Choose a Colour background that contrasts strongly with the hair, such as bright green behind dark hair. This is only for checking: leftovers and halos show up at once.
- Fix problems with the edge slider and the brushes (see below).
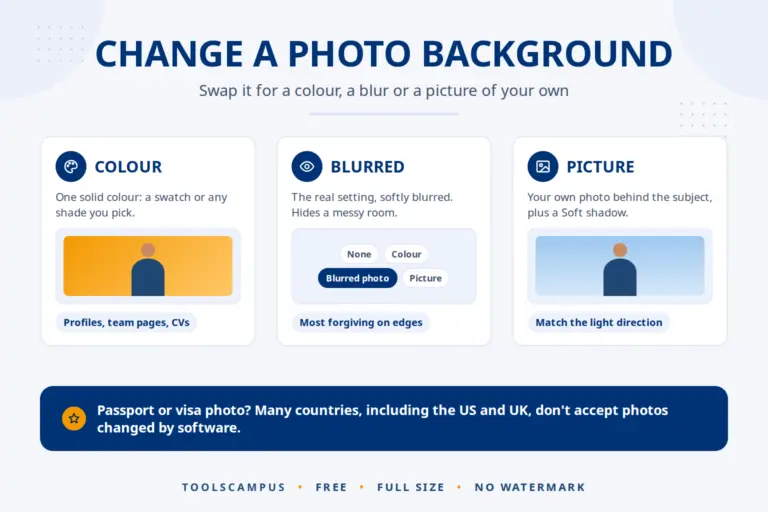
- Set the background you really want: None for see-through, a colour, a Blurred photo or your own Picture.
- Save as PNG or WebP to keep the soft edges see-through, or JPG if the final background is already in place.
Which edge setting for which photo
| Photo | Edge style | Brush Softness | Watch out for |
|---|---|---|---|
| Portrait with loose or curly hair | Soft hair | High | Background showing through gaps in the hair |
| Short or tied-back hair | Natural | Medium | A thin line of background along the hairline |
| Long-haired dog or cat | Soft hair | High | Fur the same colour as the floor or sofa |
| Short-haired pet | Natural | Medium | Ears and whiskers cut off |
| Person wearing a hat or helmet | Natural | Low to medium | Hat brim edges that should stay sharp |
How to get rid of a halo or fringe
A halo is a thin, light or coloured line around the subject, left over from the old background. It is most visible when you put a dark-haired person from a white wall onto a dark background, or the other way round.
The tool already cleans the colours along the edge, so most of the old background’s tint is removed automatically. If you still see a halo:
- Shrink the edge a little. Move the Shrink or grow the edge slider towards shrink in small steps. Too far and the hair starts to look thin.
- Erase with a soft brush. Choose the Erase brush (E), raise Softness, and lower the Brush size with [. Brush gently along the outer edge.
- Bring back lost strands. If the AI removed loose hairs you want to keep, paint them back with the Keep brush (B) at high softness.
- Use Undo freely. Ctrl+Z undoes a stroke, and Reset touch-ups starts over from the AI result.
A soft new background hides small edge flaws better than a flat, strong colour. A Blurred photo background is the most forgiving of all, because the edge blends into similar colours. See changing a photo’s background colour or blurring it.
How to shoot photos that cut out well
- Contrast is everything. Dark hair in front of a light wall, or blond hair in front of a darker one. Hair the same colour as the background is the hardest case for any AI.
- Keep the background plain. Leaves, bookshelves and patterned wallpaper behind wispy hair are very hard to separate.
- Use even light from the front. Strong light from behind makes stray hairs glow and blend into a bright background.
- Keep the hair in focus. Portrait modes on phones often blur the hair edge, which the AI then has to guess.
- Calm the flyaways. On a windy day, a little smoothing before the photo saves a lot of brushing afterwards.
- For pets, get down to their level and photograph them against a plain wall or door rather than a patterned rug.
How the AI sees hair, and why the Best model helps
The background remover runs an AI model in your browser. It has learned from a very large number of example photos where people and animals end and the background begins, and for every pixel it estimates how much belongs to the subject. Around hair, that estimate is between “all” and “nothing”, which is what makes strands partly see-through.
The tool picks one of two models automatically. Best (BiRefNet) is used on computers with a recent graphics card and a browser that supports WebGPU; it was built for fine detail and usually gives cleaner hair edges. Standard (U2-Net) works on every device, including phones, but leaves more small bits and rougher hair edges. For portraits and long-haired pets, a computer is worth it.
Even the Best model can miss very fine hair against a busy background, or fur that matches the floor. That is not a setting you got wrong; it is the limit of what the AI can tell apart. Fix it with the brushes, and check the result at full zoom before you use it. Because everything runs on your device, your family and pet photos are never uploaded.
Common problems
The hair looks like a solid helmet
The edge style is too hard. Switch to Soft hair, and paint back loose strands with a soft Keep brush.
Background shows through gaps in curly hair
Zoom in and use a small, soft Erase brush inside the gaps. Turn on Show removed parts to see what is already removed.
Whiskers or ears were cut off
Thin parts are easy for the AI to miss. Paint them back with a small Keep brush.
The edges look good on white but bad on black
A halo is hiding against the light background. Check on a dark colour, then shrink the edge slightly or erase the fringe.
Frequently asked questions
What is the best way to remove a background around hair?
Start with a sharp photo against a plain, contrasting background, use the Soft hair edge style, and clean up the outline with soft brushes while checking against a contrasting colour.
Why does my cut-out have a white outline?
That is a halo from the old background. Shrink the edge slightly or erase the outline with a soft brush.
Can AI remove backgrounds from pet photos?
Yes. The AI recognises animals as well as people. Use Soft hair for fluffy fur and Natural for short coats.
Should I save a hair cut-out as PNG or JPG?
Save as PNG or WebP if you will place it on a new background later, so the soft edges stay see-through. JPG is fine once the final background is already added.
Making a profile picture? After removing the background, Crop image can cut it into a circle (see cropping a picture into a circle), and Compress image makes it smaller for uploading. For the basics of every setting, read how to remove the background from a photo.
Remove the background from your portrait or pet photo. Pick Soft hair, check the edges, and download in full size.


Comments
No comments yet. Ask a question or share a tip that helped you.