
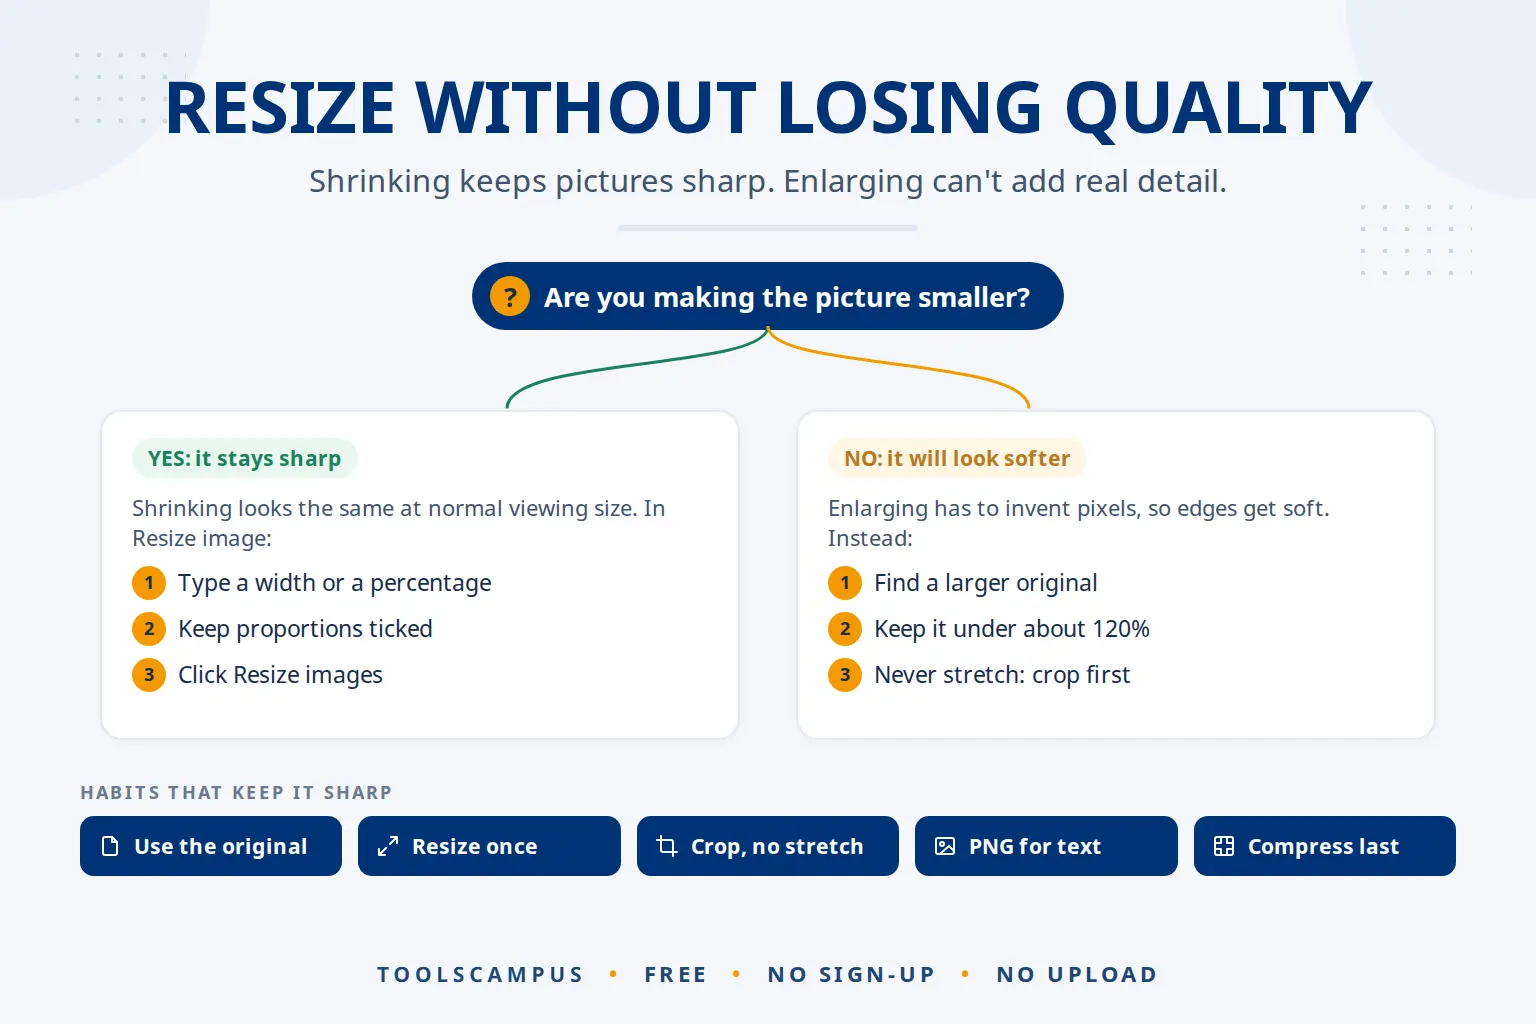
To resize an image without losing quality, make it smaller rather than bigger, keep its proportions, and save it once in the right format. Shrinking a photo throws away pixels you don’t need, and done well it looks just as sharp. Enlarging can’t add real detail, so a picture made much bigger always looks softer.
This guide explains what happens to pixels when you resize, the settings that keep pictures crisp, and the mistakes that make them blurry or stretched.
Resize your images now: free, no sign-up, and your pictures stay on your device.
What happens when you resize an image
A digital picture is a grid of pixels. A typical phone photo might be 4000 pixels wide. Resizing it to 1200 pixels wide means each new pixel is calculated from a small group of old ones. Nothing important is lost: the picture simply holds less detail than before, which you only notice when zooming in very far.
Making a picture bigger works the other way. The computer has to invent pixels between the existing ones by blending their colours. Edges get soft and fine details look smeared. That is why “without losing quality” is realistic for shrinking and only partly true for enlarging.
| What you do | Quality result | Good for |
|---|---|---|
| Shrink (for example 50%) | Looks the same at normal viewing size | Email, websites, forms, social media |
| Small enlargement (up to about 120%) | Slightly softer | Filling a frame or slot that needs a few more pixels |
| Large enlargement (150% to 200%) | Visibly soft, edges blurred | Only when there is no larger original |
| Stretching to a different shape | People and objects look squashed | Avoid; crop first instead |
How to resize an image without losing quality
- Open Resize image and add your pictures. JPG, PNG and WebP work, up to 50 at once.
- Choose Resize by: Pixels and type the width you need, or choose Percentage and use the slider (10% to 200%).
- Leave Keep proportions (fit inside this size, never stretch) ticked. The picture keeps its shape and fits inside the size you typed.
- Leave Don’t make pictures bigger ticked. Pictures already smaller than your size are left at their size instead of being blown up.
- Under Save as, keep the same format unless you have a reason to change (see below).
- Click Resize images. The list shows the old and new size. Download one file, or Download all (ZIP).
Your originals stay untouched, and copies are named like photo (resized).jpg.
Pick the format that keeps quality
Resizing and saving are two separate steps, and the save can cost quality too. Resize image saves JPG at 92% quality and WebP at 90%, which keeps photos looking clean.
- Photos: JPG or WebP. Small files, no visible loss at these settings.
- Screenshots, logos, text, diagrams: PNG. Every pixel is stored exactly, so letters stay crisp.
- Transparent backgrounds: PNG or WebP. JPG cannot store see-through areas.
Not sure which one fits? See JPG vs PNG vs WebP.
Habits that keep resized images sharp
- Always resize from the original. Shrinking a picture, then enlarging it again later, never brings the detail back.
- Resize once to the final size. Several small steps add rounding errors and repeated JPG saves.
- Crop before resizing to a new shape. If you need a square from a rectangle, use Crop image first, then resize. Unticking Keep proportions stretches the picture instead.
- Plan for sharp screens. Phones and many laptops have high-density screens that show two or more pixels per display point. A picture shown 600 points wide looks crisper on them if it is 1200 pixels wide. Web developers can serve both sizes with responsive images.
- Compress after resizing, not before. If you also need a smaller file, run Compress image on the resized copy. See compress an image without losing quality.
AI upscaling and resizing AI images
You may have seen AI “upscalers” that enlarge a small picture and add detail. They don’t recover the real detail; they guess what it probably looked like. The result can look convincing, but faces, text and patterns may come out subtly different from reality. ToolsCampus’s Resize image does not do this: it enlarges by blending existing pixels, so it never makes things up. For ID photos, documents and evidence, a guessed detail is worse than a soft one.
AI image generators often produce large PNG files. Before posting one, shrink it to the size the page shows and save as JPG or WebP. Keep the original PNG as your master copy.
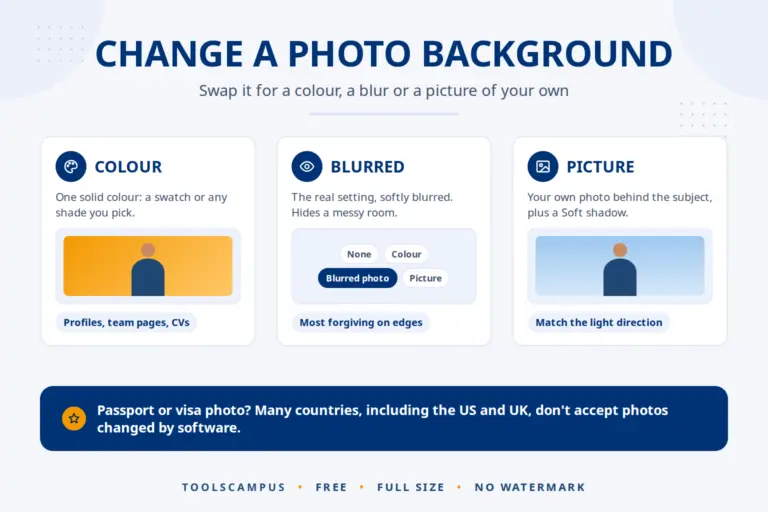
If you need a product or portrait on a clean background before resizing, Remove background uses an AI model in your browser to cut out the subject. Check the edges before you resize, because small mistakes are harder to spot afterwards.
Common problems
My resized picture looks blurry
You probably enlarged it, or resized a copy that was already small. Start again from the original file, and keep Don’t make pictures bigger ticked.
The picture looks squashed or stretched
Keep proportions was unticked while width and height had a different shape from the original. Tick it again, or crop to the new shape first.
The new size isn’t exactly what I typed
With Keep proportions ticked, the picture fits inside your width and height. If the shapes differ, one side comes out smaller. For an exact size, crop to that shape first; our guide to cropping to an exact pixel size explains how.
Text in my screenshot is fuzzy after resizing
Save it as PNG instead of JPG, and avoid shrinking text-heavy screenshots too far. Letters need a few pixels each to stay readable.
Frequently asked questions
Can you make an image bigger without losing quality?
Not truly. Enlarging spreads the existing detail over more pixels, so it gets softer. Small enlargements look acceptable; for big prints, find a larger original.
Does resizing an image reduce its quality?
Shrinking removes detail you only see when zooming in, so at normal viewing size it looks the same. The bigger risk is saving many times as JPG, so resize once from the original.
What is the best format to save a resized image?
JPG or WebP for photos, PNG for screenshots, logos and anything with text or a transparent background.
How do I resize without changing the aspect ratio?
Fill in only the width or only the height, with Keep proportions ticked. The other side is calculated for you, so the shape never changes.
Need the picture under a size limit for a form? Follow how to resize a photo to 50, 100 or 200 KB.
Resize your images now. Keep the proportions, click once, and compare old and new size in the list.
Comments
No comments yet. Ask a question or share a tip that helped you.