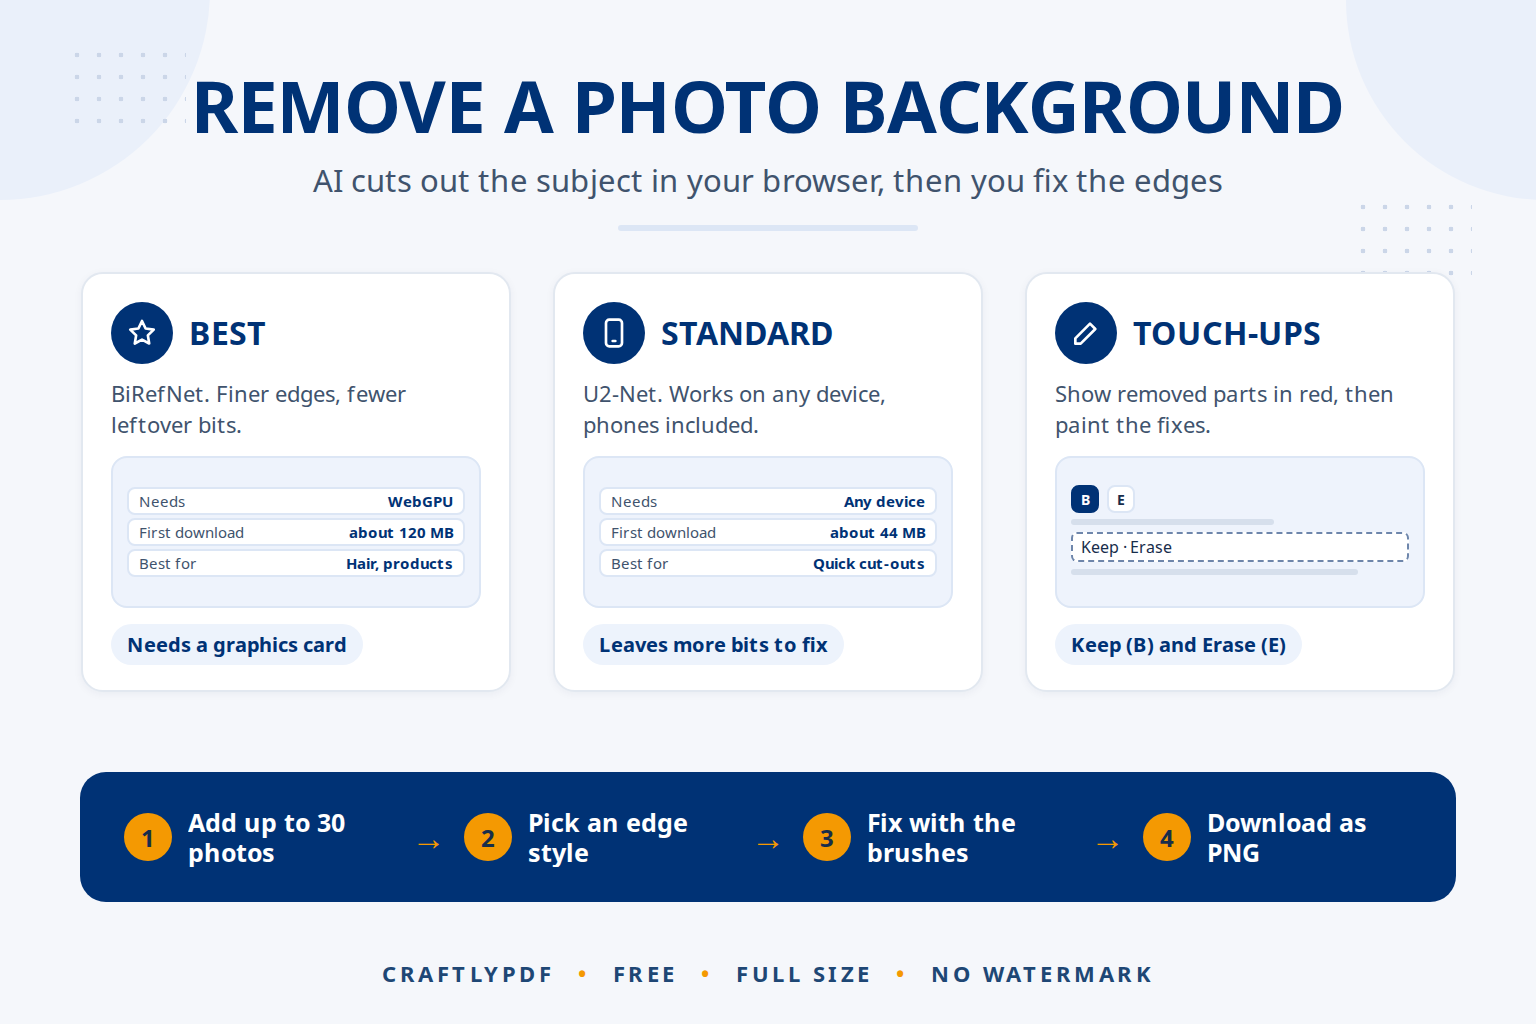
To remove the background from an image online for free, open an AI background remover, add your photo, and download the cut-out as a PNG. With ToolsCampus the AI runs inside your browser, so the photo is never uploaded, and you get the full original size with no watermark. Most photos take a few seconds.
This guide walks through the steps, explains the two AI models and the edge settings, and shows how to fix the spots the AI gets wrong with the touch-up brushes.
Remove a background now: free, no sign-up, and your photos stay on your device.
How to remove the background from an image (step by step)
- Open Remove background and add your photos. JPG, PNG, WebP and iPhone HEIC files all work, up to 30 photos at a time.
- Wait for the AI model on your first visit. The browser downloads it once and keeps it, so later visits start at once.
- Let the AI find the subject. Each photo takes a few seconds.
- Pick an edge style: Sharp for products, logos and cars, Natural for most photos (the default), or Soft hair for people and pets.
- Check the result with the Compare view, and fix any mistakes with the Keep and Erase brushes (see below).
- Choose a new background, or leave it on None for a see-through result.
- Choose how to save: PNG or WebP keep the see-through background, JPG fills it with white. Then click Download, or Download all to get every photo in one ZIP.
The file is named like photo (no background).png, and your original photo is not changed. Hidden camera and location data is left out of the saved picture.
Best vs Standard: the two AI models
The tool picks one of two AI models for you, depending on what your device can do. Both run entirely in your browser.
| Best | Standard | |
|---|---|---|
| AI model | BiRefNet | U2-Net |
| Needs | A computer with a recent graphics card and a browser with WebGPU | Any device, including phones |
| First download | About 120 MB, once | About 44 MB, once |
| Edge detail | Finer edges, fewer leftover bits | Good, but leaves more small bits to clean up |
| Best for | Hair, fur, products for a shop, large batches | Quick cut-outs on a phone or older laptop |
WebGPU lets a web page use your graphics card for heavy work. It is not available in every browser yet (MDN’s WebGPU page lists which ones support it). If you get Standard and want the Best model, try a recent desktop browser on a computer with a graphics card. If Best can’t start, or fails on a photo, the page switches to Standard by itself and tells you.
Edge settings: Sharp, Natural and Soft hair
The edge is where a cut-out looks either professional or pasted on. Each style handles the border between subject and background differently:
- Sharp gives a clean, hard outline. Use it for boxes, bottles, logos, cars and anything with straight lines.
- Natural keeps a slightly soft border, like a real photo. It suits most pictures.
- Soft hair keeps fine strands and fluffy fur instead of cutting them off. Our guide to clean edges on hair and fur goes deeper.
The Shrink or grow the edge slider moves the outline in or out. Shrink it if a thin line of old background still shows around the subject; grow it if the AI trimmed off part of the subject. If you are working on a batch, Use these edges for all photos applies the same settings to every picture.
The tool also cleans the colours along the edge, so a green lawn or a red wall doesn’t leave a coloured halo when you put the subject on a new background.
Touch-ups: fixing what the AI missed
No AI gets every photo perfect, so the touch-up tools are there for the last few per cent:
- Turn on Show removed parts. Everything the AI removed gets a red tint, which makes missing pieces easy to spot.
- Use the Keep brush (B) to paint back anything that should stay, such as a hand or the strap of a bag.
- Use the Erase brush (E) to erase background the AI left behind, such as a gap between an arm and the body.
- Change the Brush size with [ and ], and raise Softness for a gentle edge on hair.
- Zoom in with the mouse wheel or the zoom buttons, and press V to move around the picture.
Made a mistake? Ctrl+Z undoes a stroke, Ctrl+Y redoes it, and Reset touch-ups goes back to the AI’s original result.
New background, shadow and size
Under New background you can leave the result see-through (None), fill it with a Colour, use a Blurred photo of the original background, or add a Picture of your own. The Soft shadow slider adds a gentle shadow under the subject so it doesn’t look like it is floating. See changing a photo’s background colour or blurring it for ideas.
Under Size, Whole photo keeps the original dimensions, while Fit to subject trims the empty space around the subject, with a Space around it percentage for a margin. Fit to subject is handy for product photos and stickers.
How the AI background remover works, and its limits
The AI model has learned from a very large number of example photos what a “main subject” usually looks like: people, animals, products, vehicles. For each pixel of your photo it estimates how likely it is to belong to the subject. The result is a mask: fully kept, fully removed, or partly see-through at soft edges like hair. All of this happens on your own device, which is why nothing has to be uploaded.
The AI guesses, so it can be wrong. It struggles most when:
- the subject and background have similar colours, such as a white cat on a white sofa;
- parts of the subject are see-through, such as glass, veils or plastic packaging;
- hair is very fine or blowing against a busy background;
- the background is crowded, so it isn’t clear what the subject is.
The fix is always the same: zoom in, turn on Show removed parts, and paint with Keep or Erase. Standard leaves more small bits than Best, so check its results a little more closely. Many other online background removers send your photo to a server; if you use one, check its privacy settings before uploading personal pictures.
Common problems
Part of my subject disappeared
The AI thought it was background. Paint it back with the Keep brush, or grow the edge a little with the Shrink or grow the edge slider.
There is a thin outline of the old background
Shrink the edge slightly, or erase the outline with a small, soft Erase brush. The Sharp edge style also helps on hard-edged objects.
My transparent background turned white
You saved as JPG, which can’t be see-through. Save as PNG or WebP instead. Our guide on making a background transparent explains why.
The first photo takes a long time
The AI model is downloading, which happens only once. After that the browser keeps it, and each photo takes a few seconds.
Frequently asked questions
Is this free background remover really full resolution?
Yes. You download the result at the original photo’s full size, with no watermark and no account needed. Our guide to removing a background in HD explains how.
Are my photos uploaded to a server?
No. The AI model runs in your browser, so your photos never leave your device. Only the model itself is downloaded, once.
Can I remove the background from many photos at once?
Yes, up to 30 photos at a time. Set the edges on one, click Use these edges for all photos, and download them together as a ZIP.
Does it work on a phone?
Yes. Phones use the Standard model, which works on every device. Touch-ups are easier on a bigger screen, so use a computer for detailed fixes. See removing a photo background on iPhone or Android.
Once your cut-out is ready, you can shrink it for the web with Compress image or trim it to a square with Crop image.
Remove a background now. Add a photo, check the edges, and download it in full size.